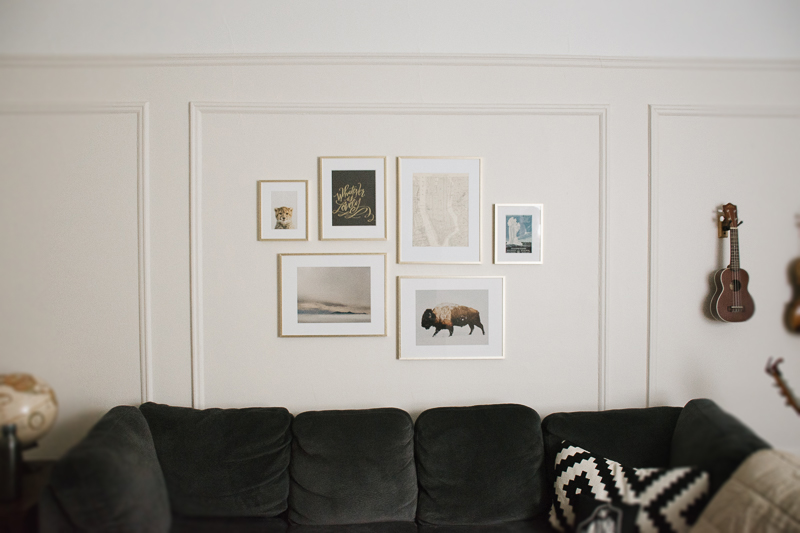
My husband and I recently installed a gallery wall in our living room, and I thought I’d share because it ended up being a pretty intricate process!
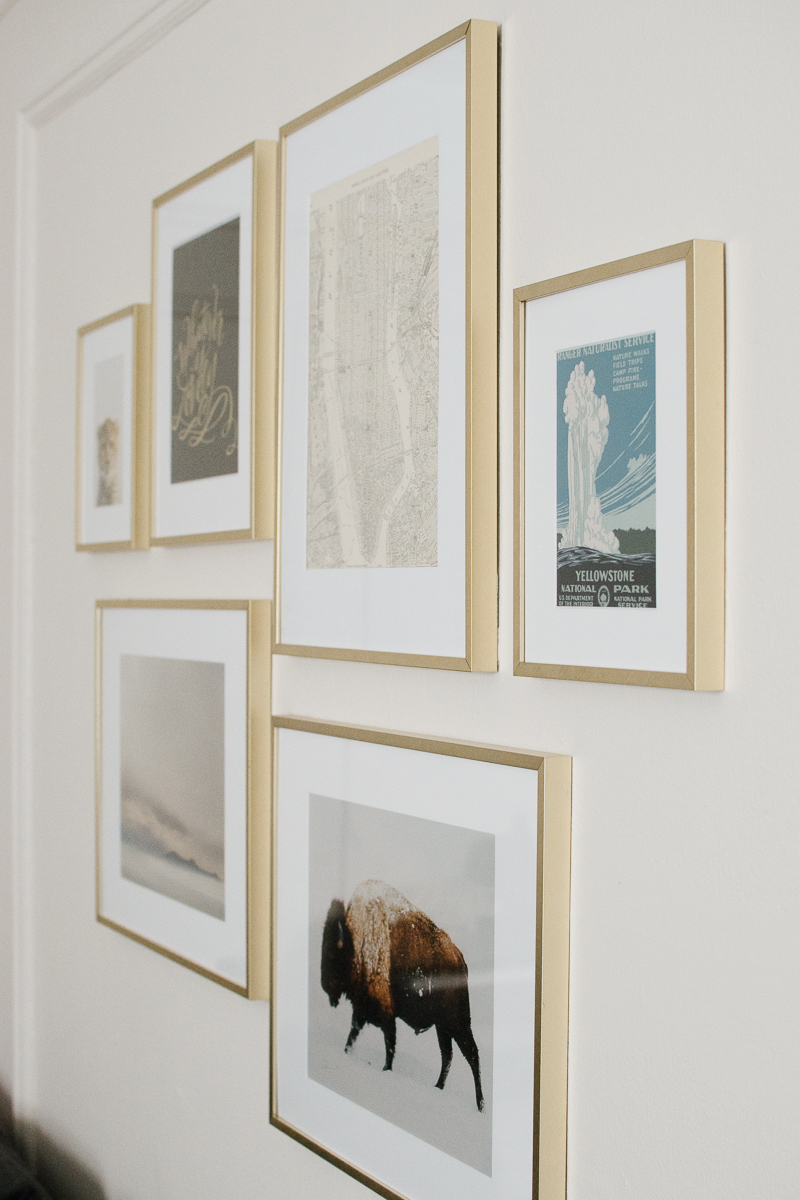
It started with our vintage Manhattan print. We bought a map of Manhattan and framed it so we could use it to plan our trips into the city. (We used this frame from Target and a 10×13 mat from Michaels.) It looked awesome, but it definitely wasn’t enough to stand on its own above our couch. I’d been wanting to start a collection of nicer looking frames anyway, so we decided to buy five more frames.
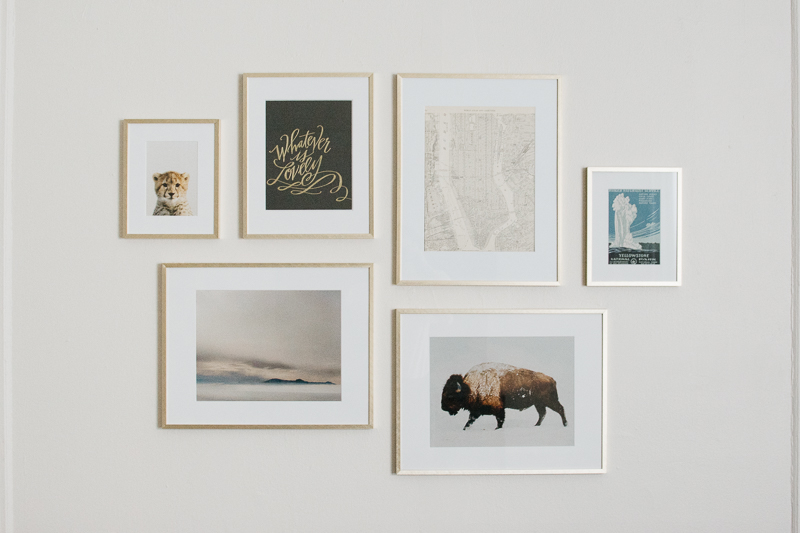
I scoured Pinterest for a layout I liked (I feel like a lot of gallery walls look kinda campy, ha), and finally found a picture of one that looked organized, yet not “too” organized if that made sense. (I wish I could find that photo, but I don’t know how to find it again!) Then I recreated the layout on Photoshop, like this:
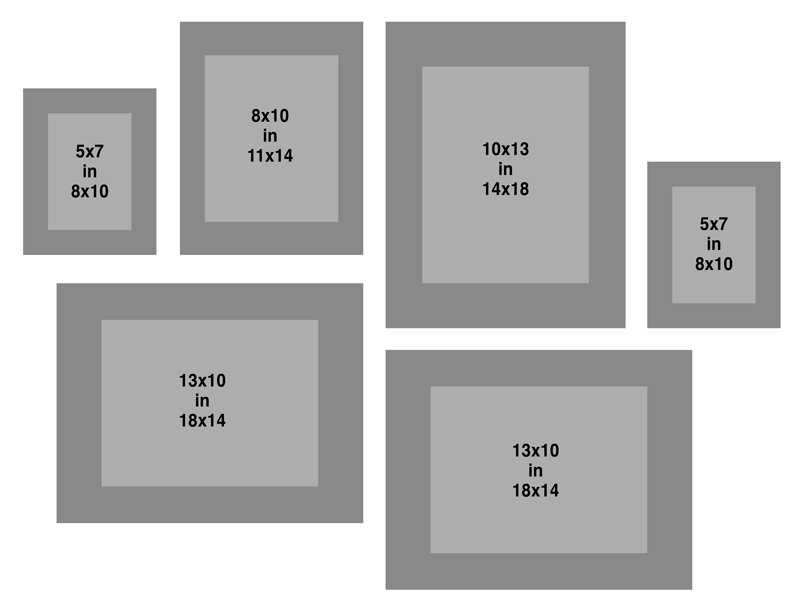 Once I did that, buying the remaining frames and mats I needed was easy. Target carries smaller sizes of that frame I mentioned earlier here.
While I waited for our prints to come in the mail, I created a mockup design of our wall in Photoshop:
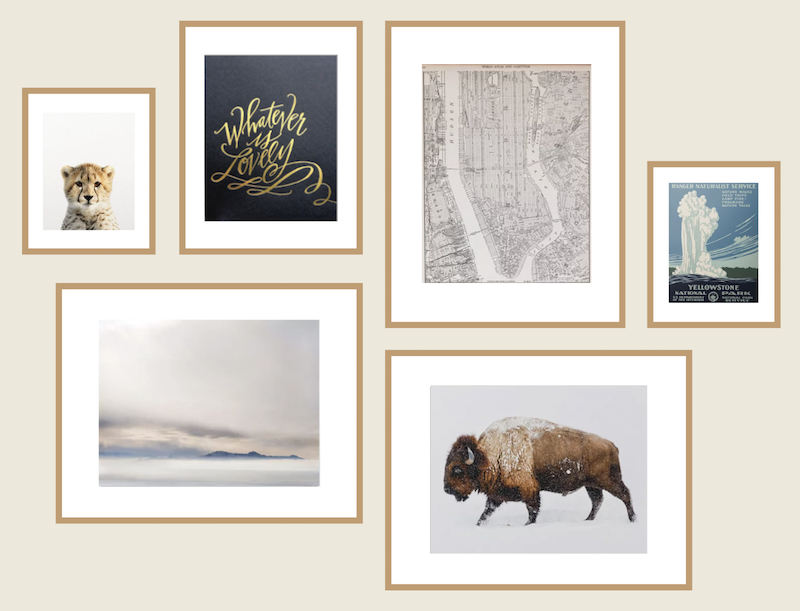
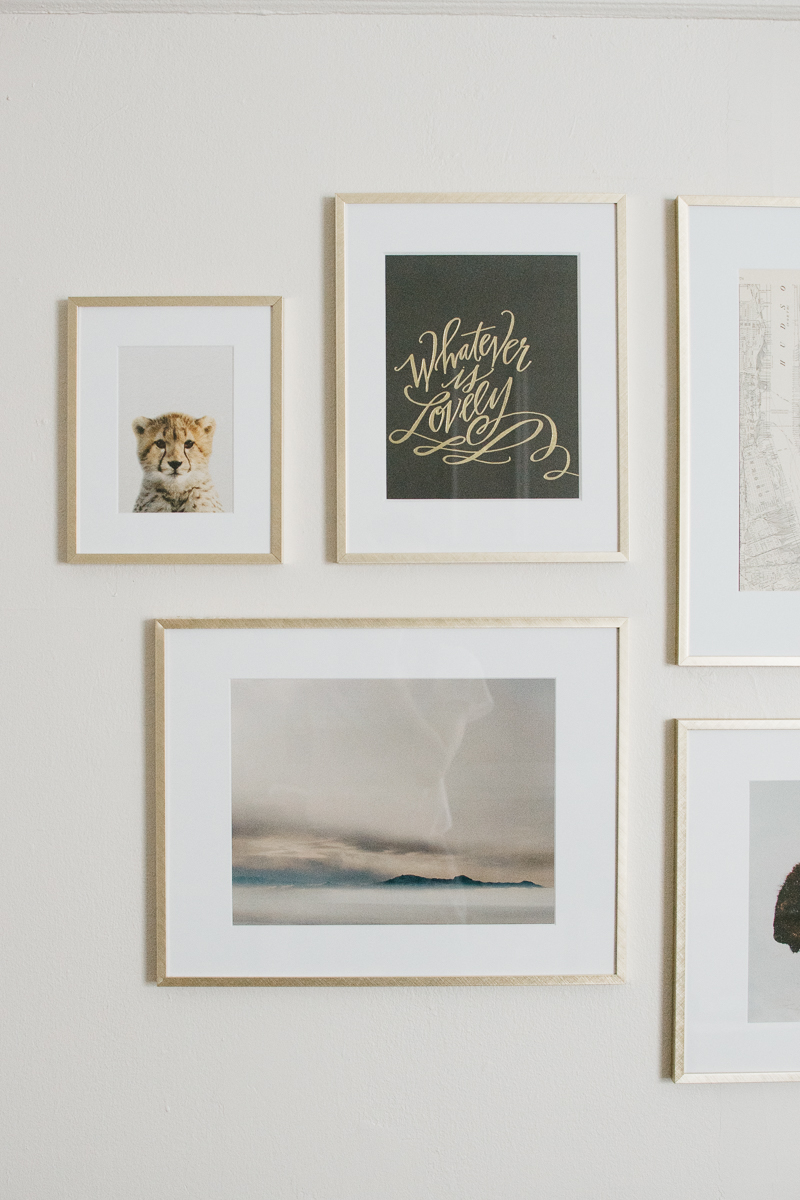
I found my prints at a few different shops on Etsy:
- Manhattan map print from reclaimer
- Yellowstone print from Purple Moose Basics
- Bison digital download from Positive Change Art
- Antelope Island digital download from Life Adventures
- Cheetah digital download from synplus
And then the Whatever Is Lovely print is from Lindsay Letters—but I actually bought it about five years ago!
I tried to include a variety of art types that were personal to me and Nate. The Yellowstone print is because Nate and I went to Yellowstone when we were dating. The bison is Nate’s spirit animal. The cheetah is my spirit animal. And we took our engagement photos at Antelope Island 🙂
Since three of the prints I bought from Etsy were digital downloads, I had to get them printed. I ended up printing the cheetah, bison, and Antelope Island prints at AdoramaPix for only 7 bucks plus shipping!
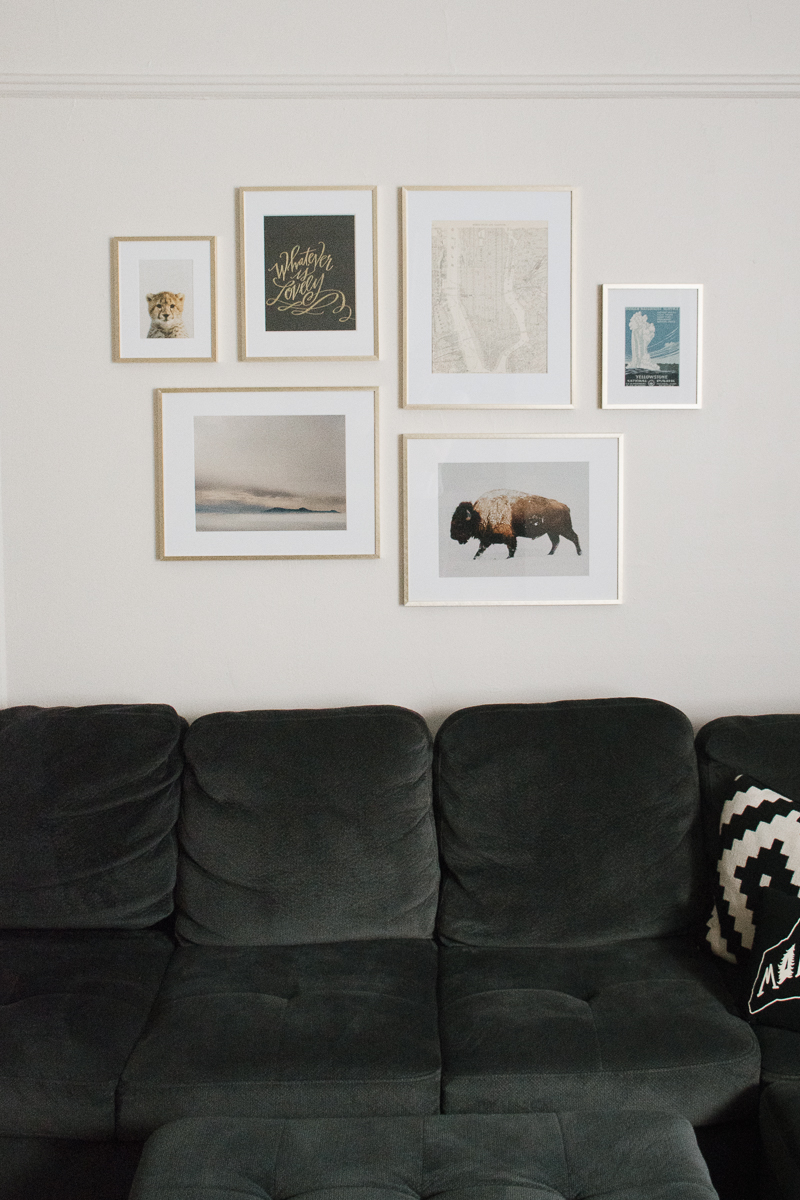 As for the hanging process, I highly recommend saving the pieces of paper that come in your frames! That way you can tape them to the wall and get a general idea of placement (even though the pieces of paper are slightly smaller than the frames.) This really helped us decide how to center things vertically and how much space to have between each frame. We ended up deciding on two inches between each frame.
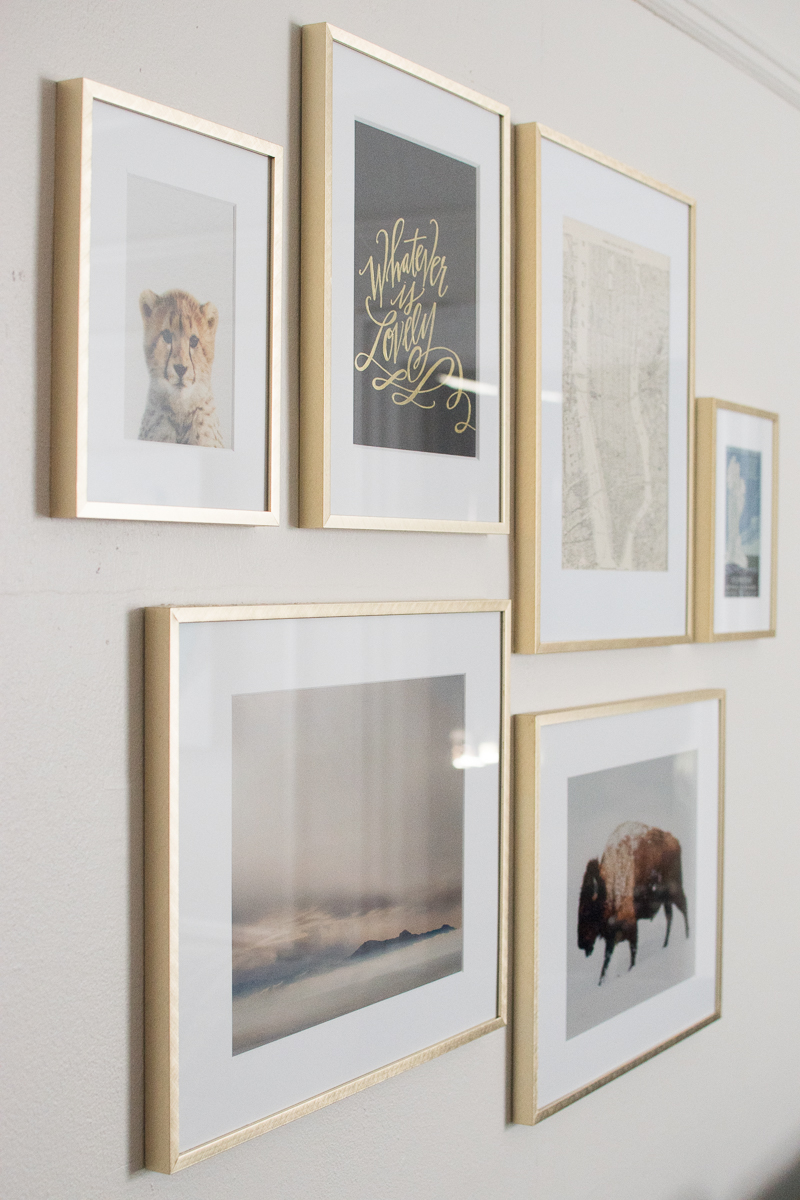
 Other than that, successful frame hanging was really just a matter of measuring meticulously with a tape measure, drawing and erasing lines on the wall, and using a level over and over to make sure things were straight.
 Sorry I didn’t document those steps, ha.
Anyway, that’s it! If you’re planning a gallery wall of your own, good luck!



No Comments