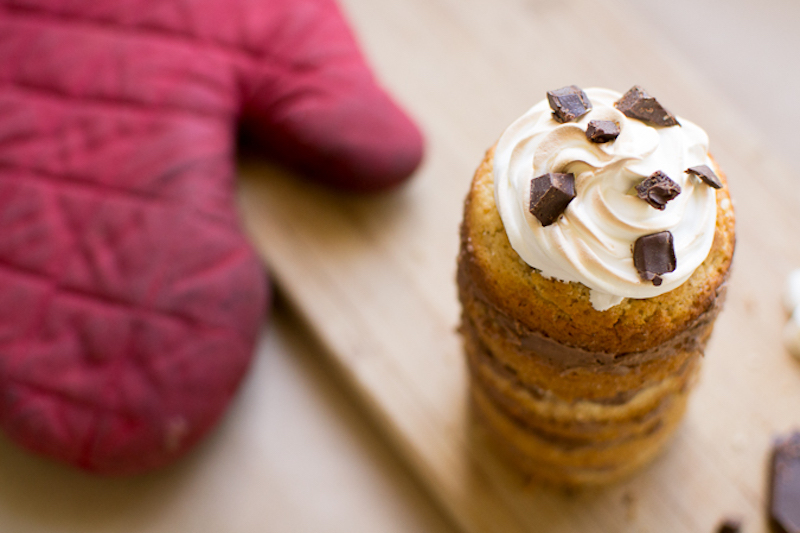
Happy Flag Day! I’ve been really itching to make a cake version of s’mores, and this recipe is what I came up with. There are a lot of ways to do this, of course, but my version consists of a graham cake, chocolate frosting in between the layers, and a toasted marshmallow topping. Plus chocolate pieces as garnish. (It looks a little complicated at first, but don’t freak out. You got this.)
This recipe will work a little differently than most that I post here because it’s a layered mini-cake prepared using two empty cans. I’ve provided the recipes you need for the batter, chocolate frosting, and marshmallow topping first, and the instructions for assembly are at the end of the post.
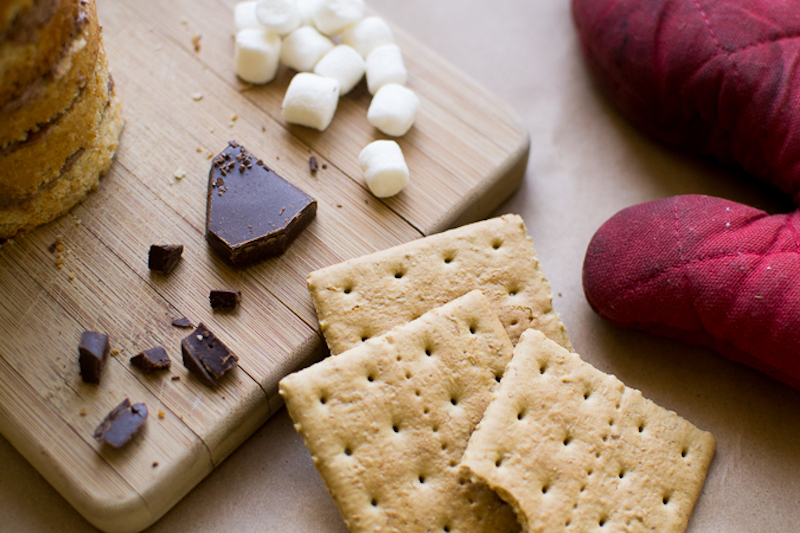 1: Graham Cake Batter
This will make enough batter to prepare a little more than one can’s worth of cake. So…you can either have some batter left over or distribute the batter into two cans for baking. (I did the latter.)
Ingredients
2/3 cup cake flour
1/2 tsp baking powder
1/4 tsp salt
1/4 cup butter
3/8 cup sugar
1/8 cup brown sugar
1 egg
1/3 cup milk
1/2 tsp vanilla
1/2 tsp cinnamon
1/4 cup flavored graham cracker crumbs
Method
If you haven’t already, you should check out my basic cake baking method and my list of cake baking tips! Every cake batter recipe I post follows that same method, and my cake baking tips are great to memorize for whenever you’re preparing a cake batter such as this.
Preheat the oven to 350°F.
In a medium-sized bowl, sift together the flour, baking powder, and salt.
In a larger bowl, beat the butter at a high speed, and gradually beat in the sugars. Then, beat in the eggs one at a time.
Now you will gradually be adding the dry mixture and the milk to the butter-sugars-egg mixture. To do this, alternate mixing in some of the dry mixture, followed by some milk, followed by some dry mixture… You get the picture. Do that until you’ve incorporated the dry mixture and the milk completely. Just don’t over-mix here.
Finish by incorporating the vanilla, cinnamon, and graham cracker crumbs.
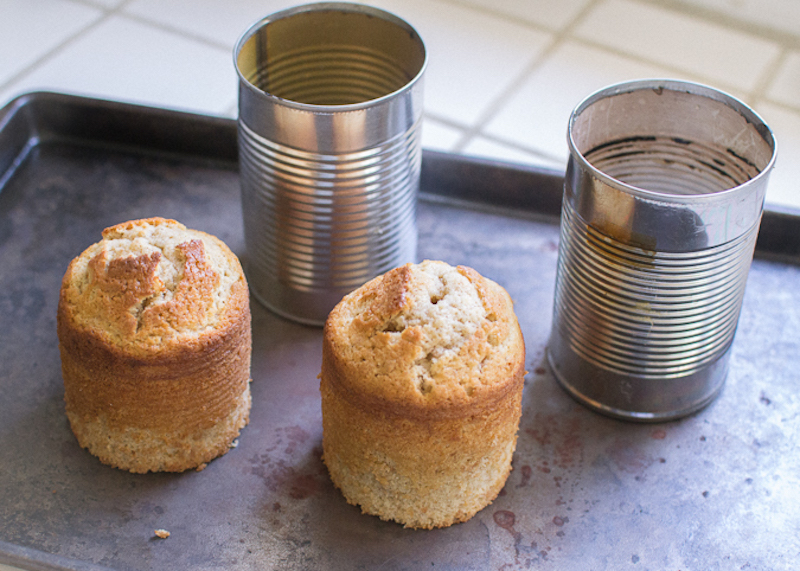
Baking time. Fill a can—inside greased with parchment paper on the bottom—a little more than halfway, and save your leftover batter in a plastic bag. (Or you can fill two cans less than halfway, using all of the batter.) Bake for 18 to 20 minutes. Use a knife or skewer to test for perfect doneness.
Let your cake(s) cool completely and carefully remove with a knife.
 2: Chocolate Cream Cheese Frosting (For In Between Layers)
You’ll have some extra. (Yay for freezers!)
Ingredients
1/4 cup unsalted butter, room temp
2 oz. neufchâtel or cream cheese
1 cup powdered sugar
1/2 tsp vanilla
some cocoa powder (I never measure this!)
a pinch of salt (optional)
Method
Cream together the butter and cream cheese.
Gradually beat in the powdered sugar.
Beat your frosting for a few minutes. The more air you incorporate, the better!
Finish by incorporating the vanilla, cocoa powder, and salt. As for the cocoa powder, start with a few spoonfuls, and keep adding more as you reach your desired taste.
 3: Toasted Marshmallow Frosting (Topping)
You’ll have some extra. (Yay for freezers!)
Ingredients
2 egg whites
1/2 cup sugar
1/4 tsp cream of tartar
a dash of vanilla
Method
Combine the egg whites, sugar, and cream of tartar in a heat-proof bowl, set the bowl over a pot of simmering water.
Whisk these ingredients constantly for about 4 minutes over the simmering water.
Remove the bowl from heat and beat your mixture for 5 to 7 minutes, gradually increasing from low to high speed.
Finish by stirring in the vanilla.
 4: Assembly
Slice your cake into several layers—how thick and how many is up to you. I sliced off the very top of the cake since it was dome-shaped.
We’re going to create the toasted marshmallow topping first before assembling the layers. So…turn your oven on to broil. (Questions about broiling? See this post.)
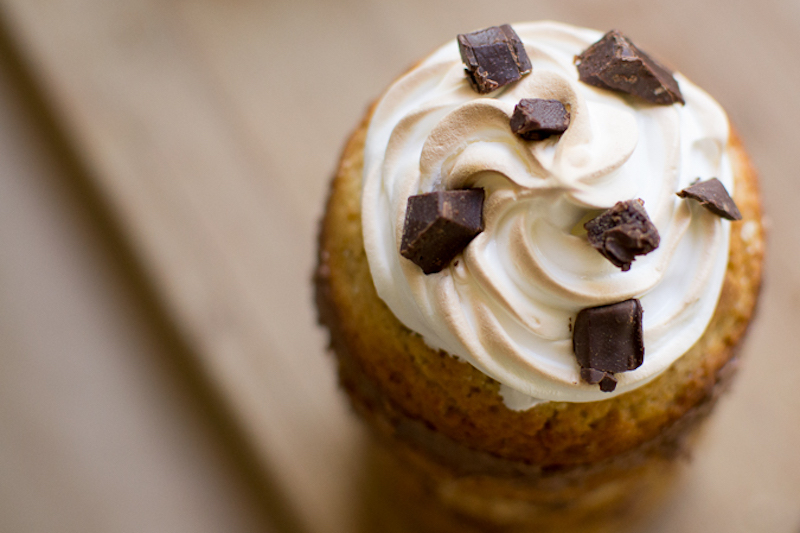
On what will be the top layer of the mini-cake, pipe some marshmallow frosting. It’s best to use a star tip for this so that the “toasting” shows up better. You’ll see what I mean in a sec. (No worries if you don’t have one, though.)
Place this topped cake layer on a cookie sheet, and, when your broiler is ready, slide it under the broiler in your oven. Let the broiler toast your frosting for about 25 seconds—that’s it! So be quick about taking the cookie sheet back out.
Set this layer aside.
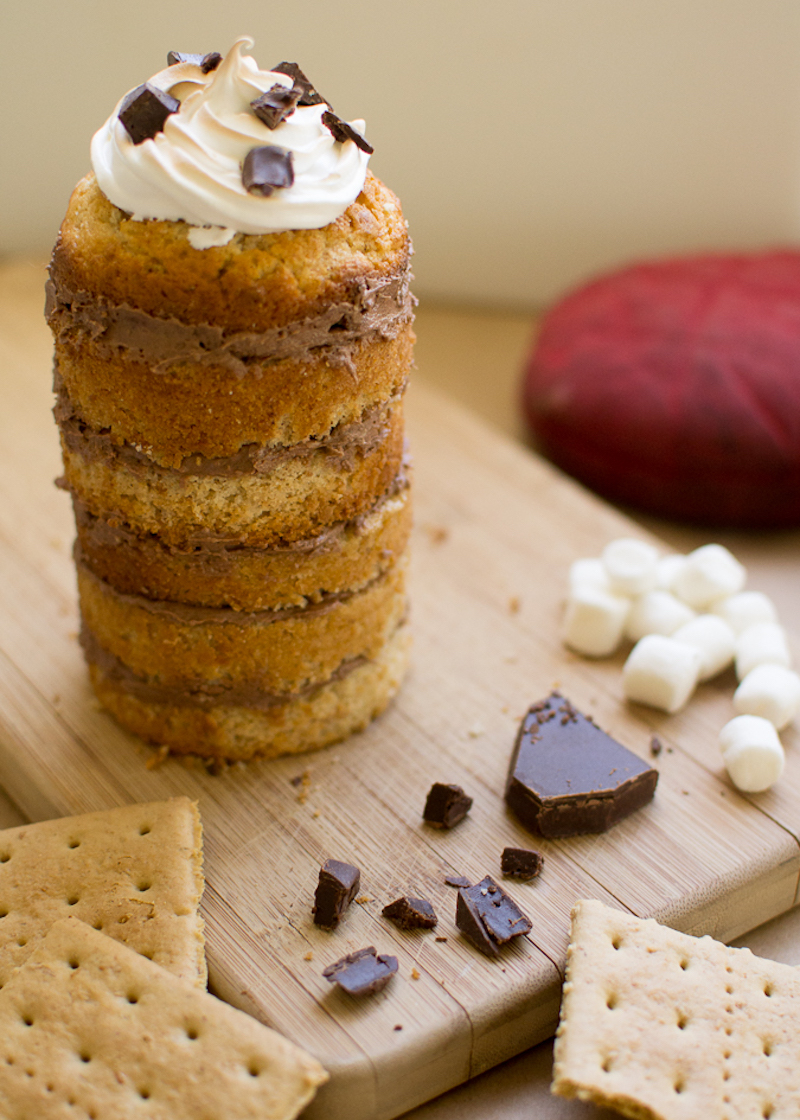
Time for officially assembling the cake. Simply set the bottom layer of the cake down first and drop some of the chocolate frosting onto it. Spread the frosting around…set the next layer on top…just keep going until you can set the layer with the toasted marshmallow frosting on top.
Garnish with chocolate pieces
Yay, we’re finally done! Now go enjoy your little cake.

2 Comments
ohmyword! This is genius! nice Maurine!
YAY thanks 🙂