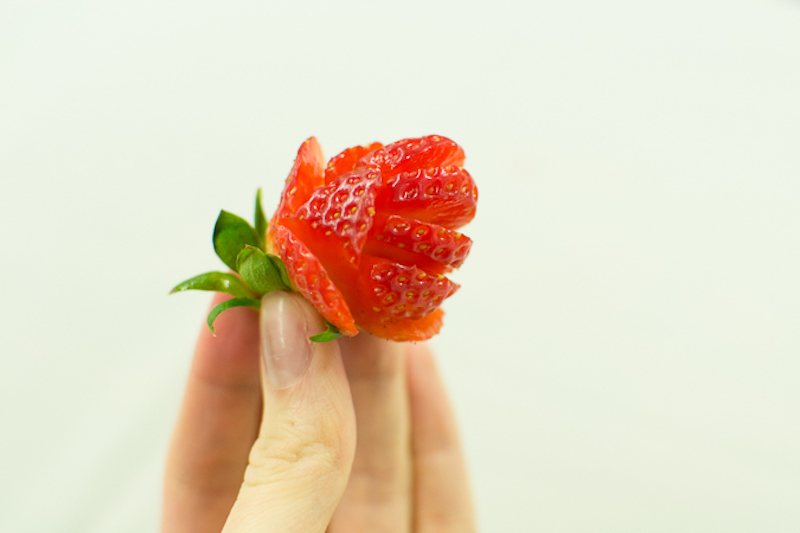
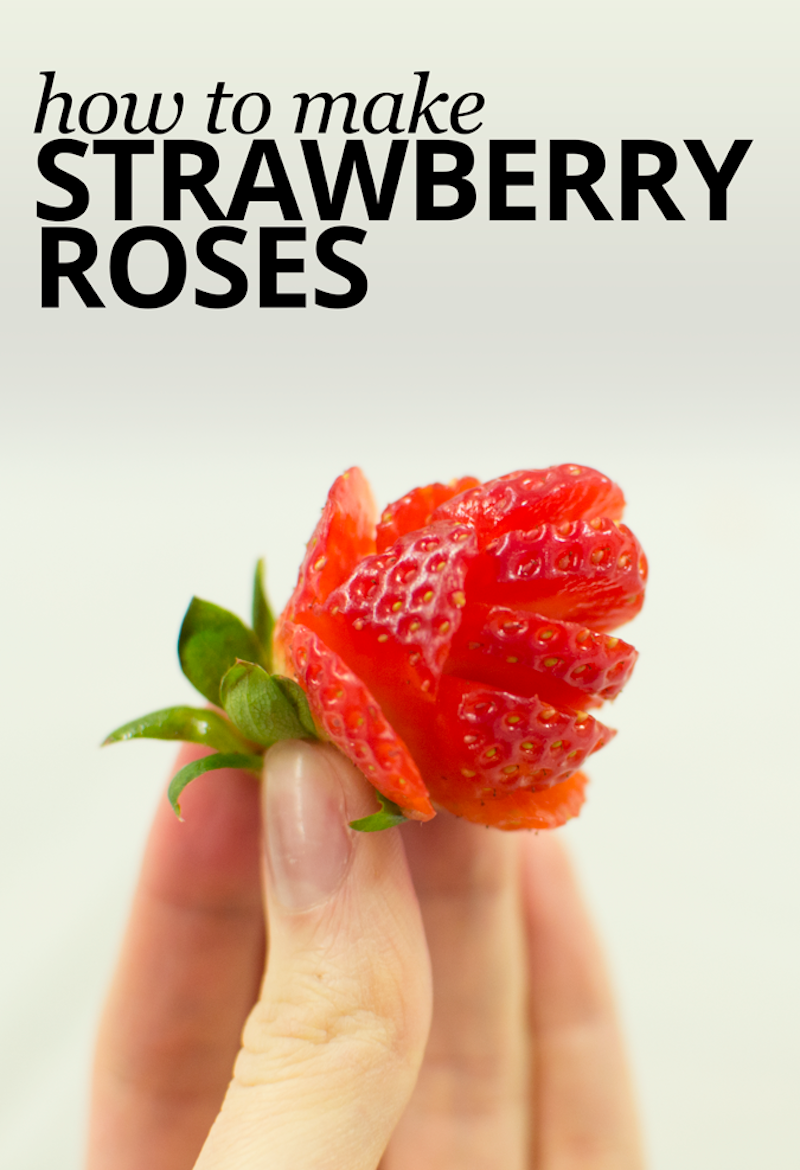
I was perusing Pinterest the other day and came across this nifty pin about how to cut a “rose” out of a strawberry. And then…I couldn’t find a tutorial with text. Bah! So I sat down with some strawberries and a few friends, and I thinnnnk we figured it out.
 So.
So.
Here it is!
1. Choose a fresh strawberry that isn’t too dark (since darker ones are too juicy). Hold it upright, and start by cutting downward along one edge. At the end of the cut, tilt the knife outward and cut in slightly once more to make the piece you just cut stick out.
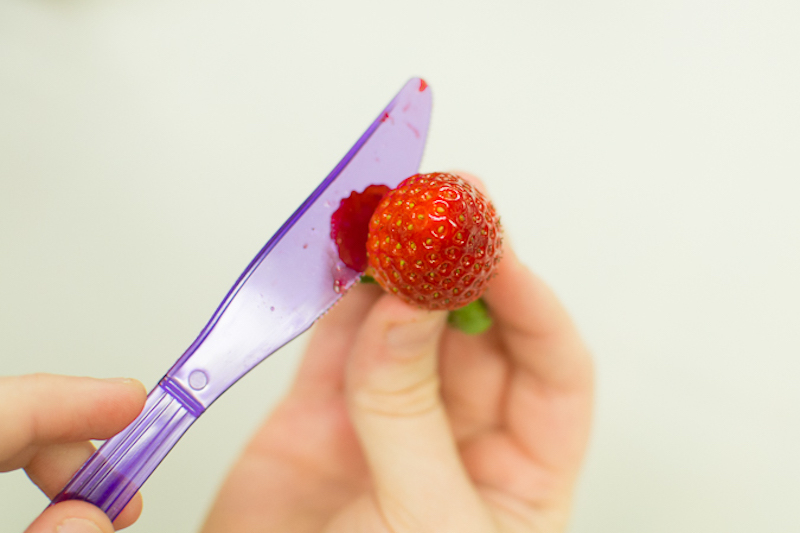 2. Cut down along the opposite side. Again, tilt the knife outward at the end to make your “petals” stick out. Do this twice more to create four “petals” at the base of the strawberry.
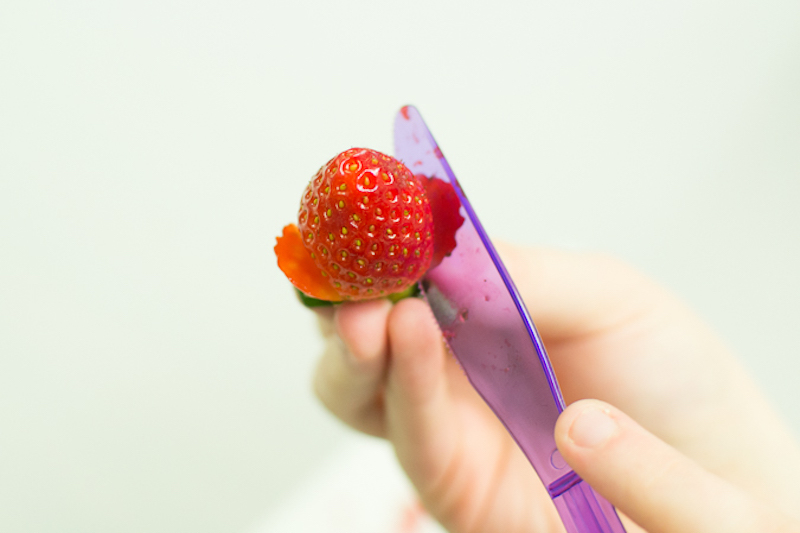 3. Repeat this process to create a second layer of petals. I recommend doing three petals for this layer and spacing them so that they do not fall directly above any of the petals below.
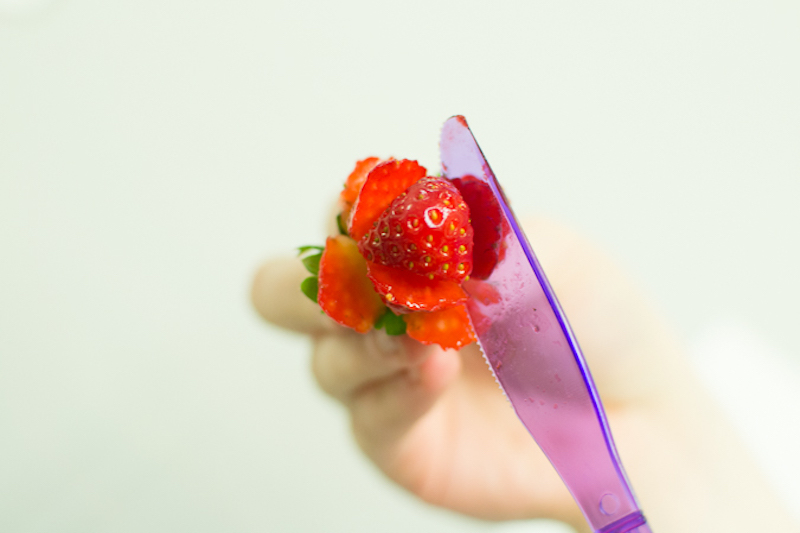 4. For the top layer, cut the remaining part of the strawberry into three parallel pieces.
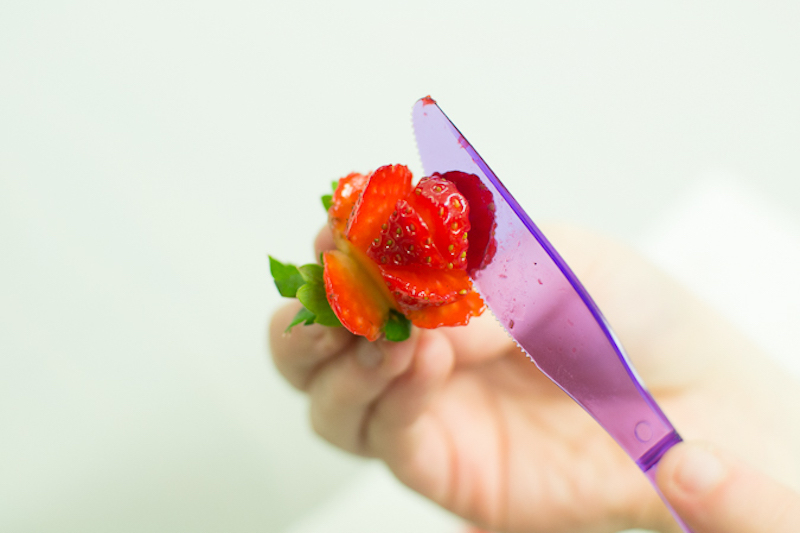 5. You can definitely get more ornate about it if you like, cutting the three pieces you just cut perpendicularly, for example. But I liked how it looked after step 4. So…there ya go.
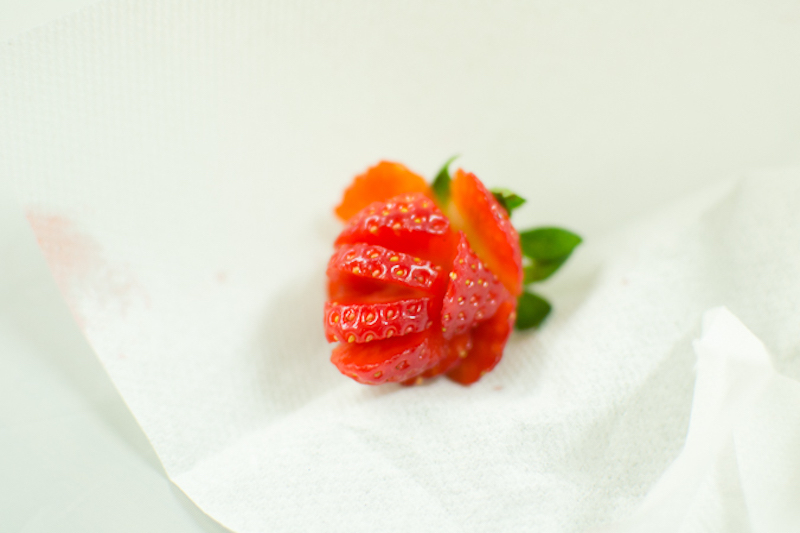 And that’s it! How great would this be as a cake or cupcake garnish? And if you want your rose to have a stem, try using a firm paper straw as the stem—the open area in the middle of the straw makes it easy to poke it up through the bottom of the strawberry.
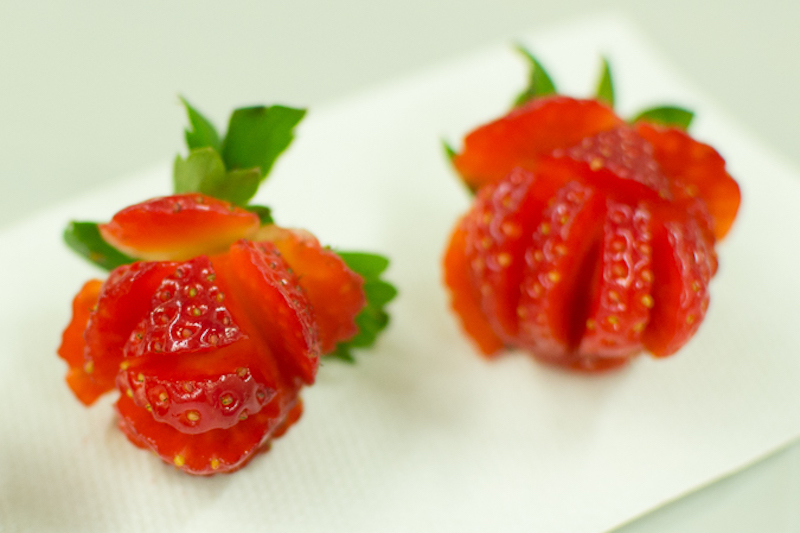 A big thanks to Allyson of Butterflies and Ballerinas for being my hand model!
Love, Maurine


No Comments